Workshop - Cyanotype on Fabric handouts
Cyanotypes on Fabric
Your choice of paper, kind of fabric, and chemistry can significantly influence the quality and appearance of your cyanotypes. The fun part of the process is experimenting and trying different combinations to find your favorite.
You can get your fabric pre-dyed or you can dye and set your own fabric.
Pre-dyed fabrics:
If you dye and set your own fabric, experiment with different fabrics. Cotton and silk work best, but synthetics are less effective. Test strips work great! Experiment before you dye a whole yard.
Make sure to have gloves, a bucket, and clothing you do not mind getting stained. The blue Cyanotype chemistry will dye most items it touches green or blue.
Chemistry
Option 1: Photographers' Formulary 07-0091 Liquid Cyanotype Printing Kit
This is my favorite chemistry go-to for cyanotypes. Long lasting with beautiful blues.
Option 2: Jacquard Cyanotype Sensitizer Set
This set is good for color but mostly because it comes dry and you add the sterile water. The drawback is you have to let it set for a bit before you can use it. Plus a shorter shelf life. So plan ahead.
Here is a quick how-to for starting your Cyanotypes:
Your choice of paper and chemistry can significantly influence the quality and appearance of your cyanotypes. The fun part of the process is experimenting and trying different combinations to find your favorite.
Cyanotype Mixing Instructions [pdf]
Quick Cyanotypes Background:
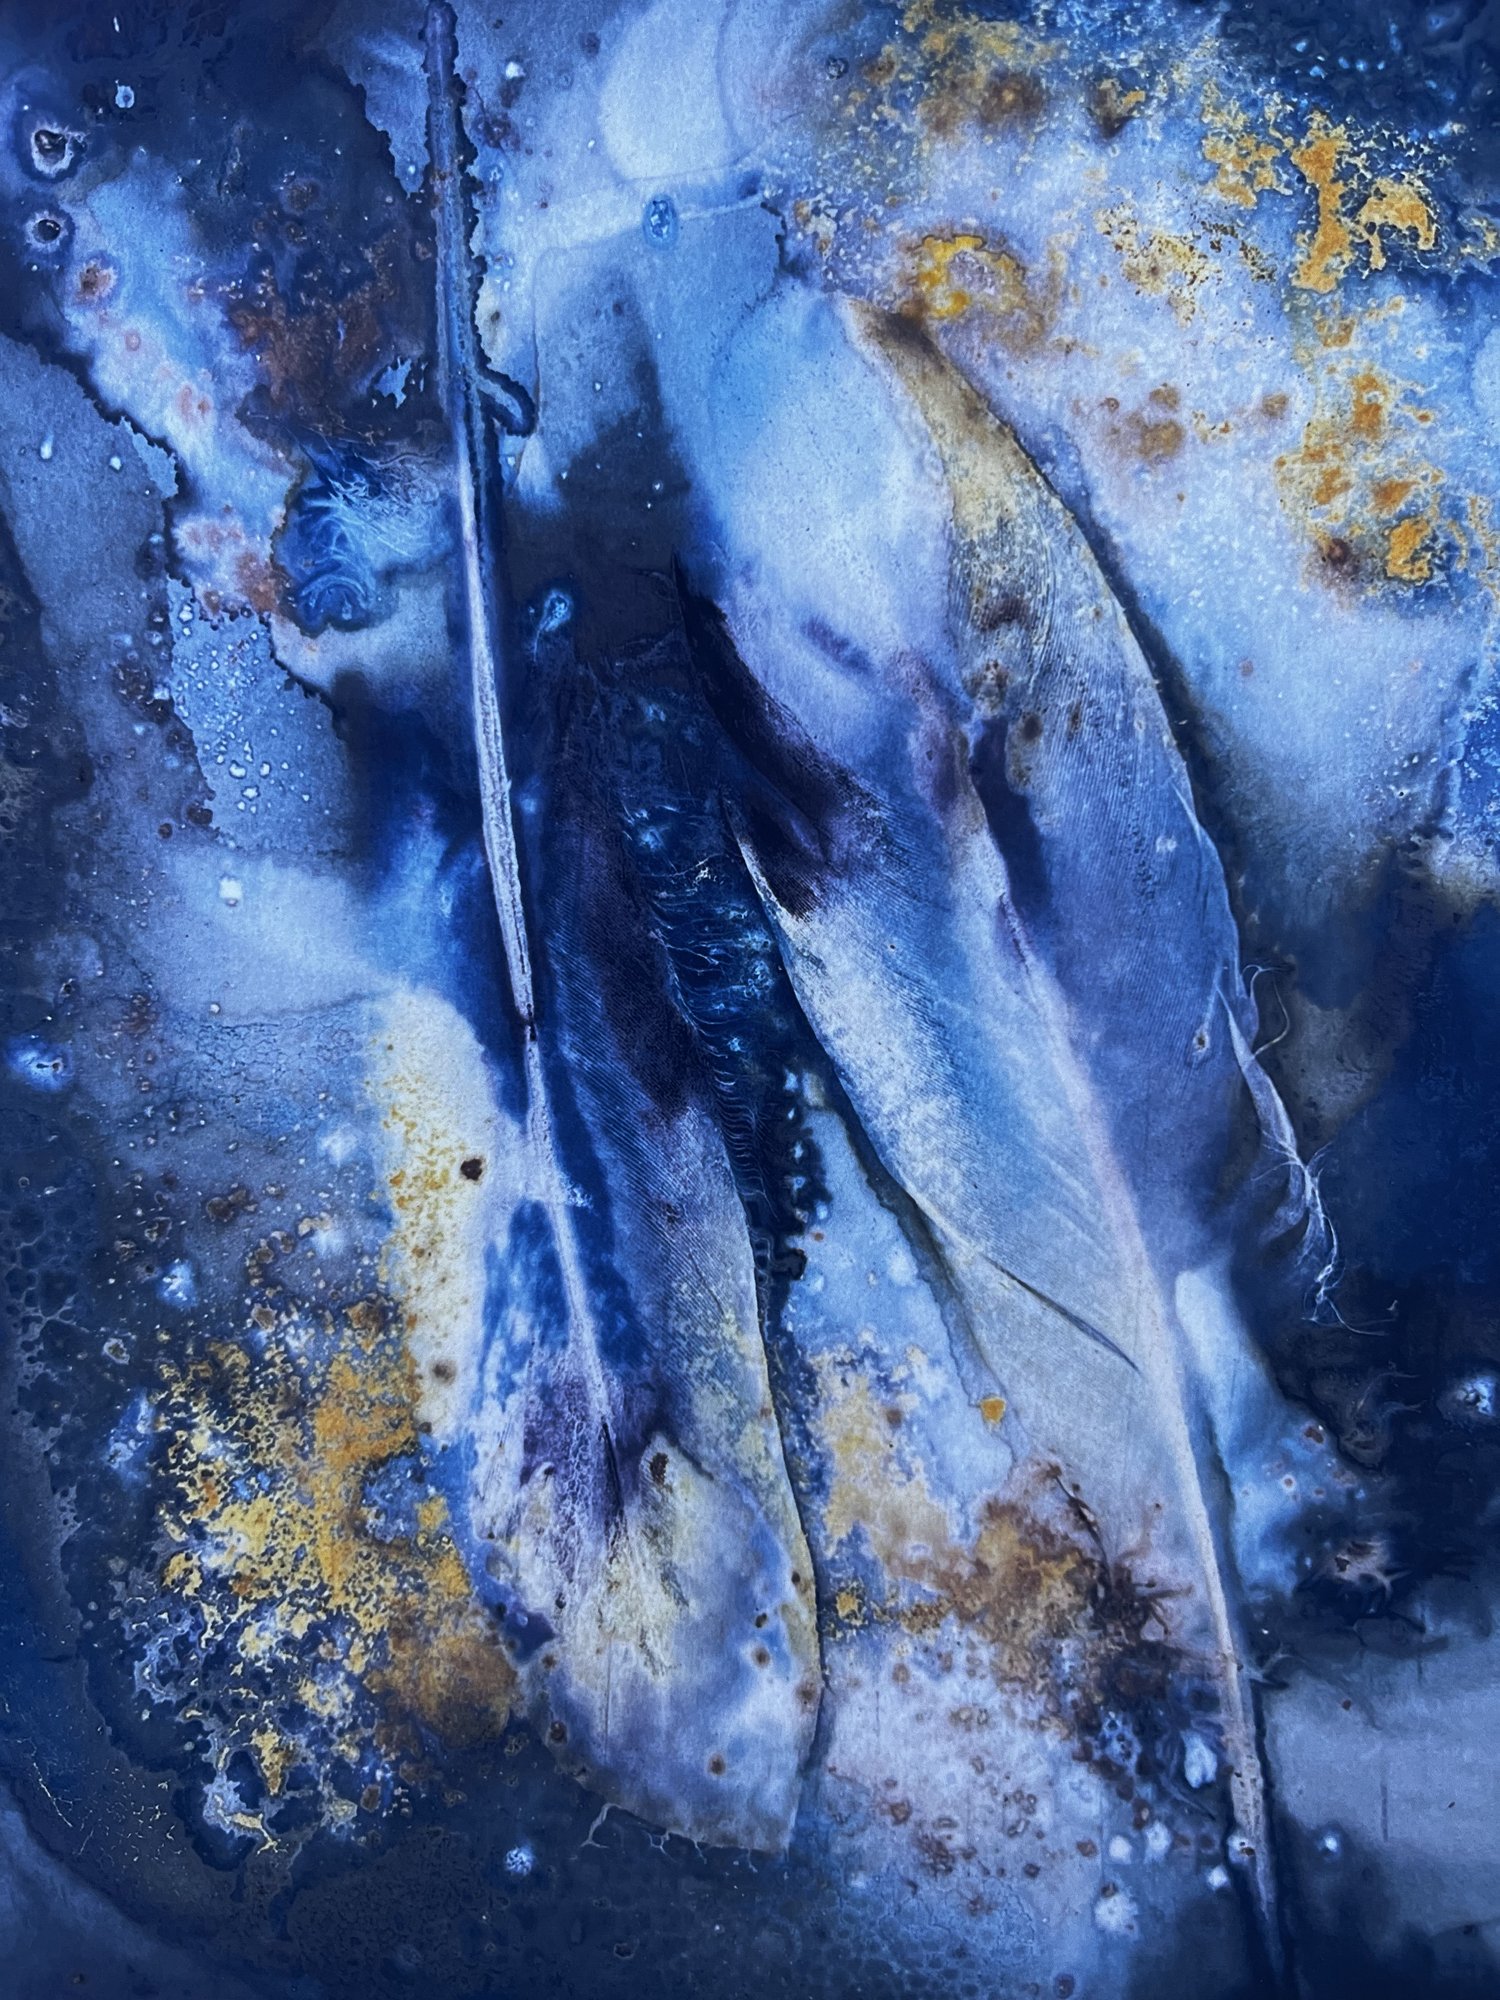
The cyanotype is a photographic printing process that produces a cyan-blue print. Engineers used this process well into the 20th century as a simple and low-cost method to produce copies of drawings, which were often referred to as blueprints. This process involves the use of two chemicals: ferric ammonium citrate and potassium ferricyanide.
Equipment needed:
Ferric Ammonium Citrate
Potassium Ferricyanide
Protective Equipment: Facemask, Gloves & Apron
Sunlight or UV Source
Found materials such as threads, leaves, feathers, buttons etc
Scales optional
Measuring Jug or disposable cup
Brushes & Sponges
Water trays for rinsing (dish tub works too)
3 containers for mixing (ideally brown glass bottles)
Plastic Spoons Glass or Clear Perspex
Heavy paper or watercolor paper
Pencil
Drop cloth or old table
Mixing the Chemicals:
Using a plastic spoon mix 25g of ferric ammonium citrate with 100ml of water.
In a separate container mix 10g potassium ferricyanide with 100ml water.
Mix the two solutions together with a 1:1 ratio immediately before use.
Chemical solutions can be stored separately in glass brown bottles for months but ammonium ferric citrate will grow mould which will need sieving out. Coating the Papers Wear gloves when applying the solution. In a dark room or room with a low-level light the solution can be applied to paper using a brush - or for even coverage use a sponge brush. Keep the coated papers in the dark and ideally leave to dry flat. Dry coated papers can be kept in a light sealed black bag until exposed in sunlight or using a UV light box.
Exposing your Image Using sunlight: Here's a clearer version of the text:
To create a cyanotype, place your objects or acetate image on the coated side of the paper. Then, put a piece of glass or clear plexi on top. When working outdoors, periodically check your image to monitor the exposure. On a sunny day in June, exposure might take 3 to 15 minutes, but on a cloudy day in January, it could take up to 4 hours. A fully exposed cyanotype will turn a cool brown-grey color.
To develop the image, immerse it in cool water in a tray or run water over it until all the yellow has disappeared and the water runs clear with no blue bleeding on the image. Once developed, use a clean towel or blotting paper to remove excess water and allow the print to dry.


