it’s about the process
images and objects under the UV Light.
rinsing Cyanotypes in water is an important part of the process.
I have been slowly working on my Master's degree during the pandemic. Seemed like the perfect time right? Grading and lesson planning for high school art non-stop, teen in high school, husband seeking 2nd degree, why not add on some master's classes right? (insert circus music). Photography at AOEU was an option I decided to take to force myself to dive into some me time this past summer.
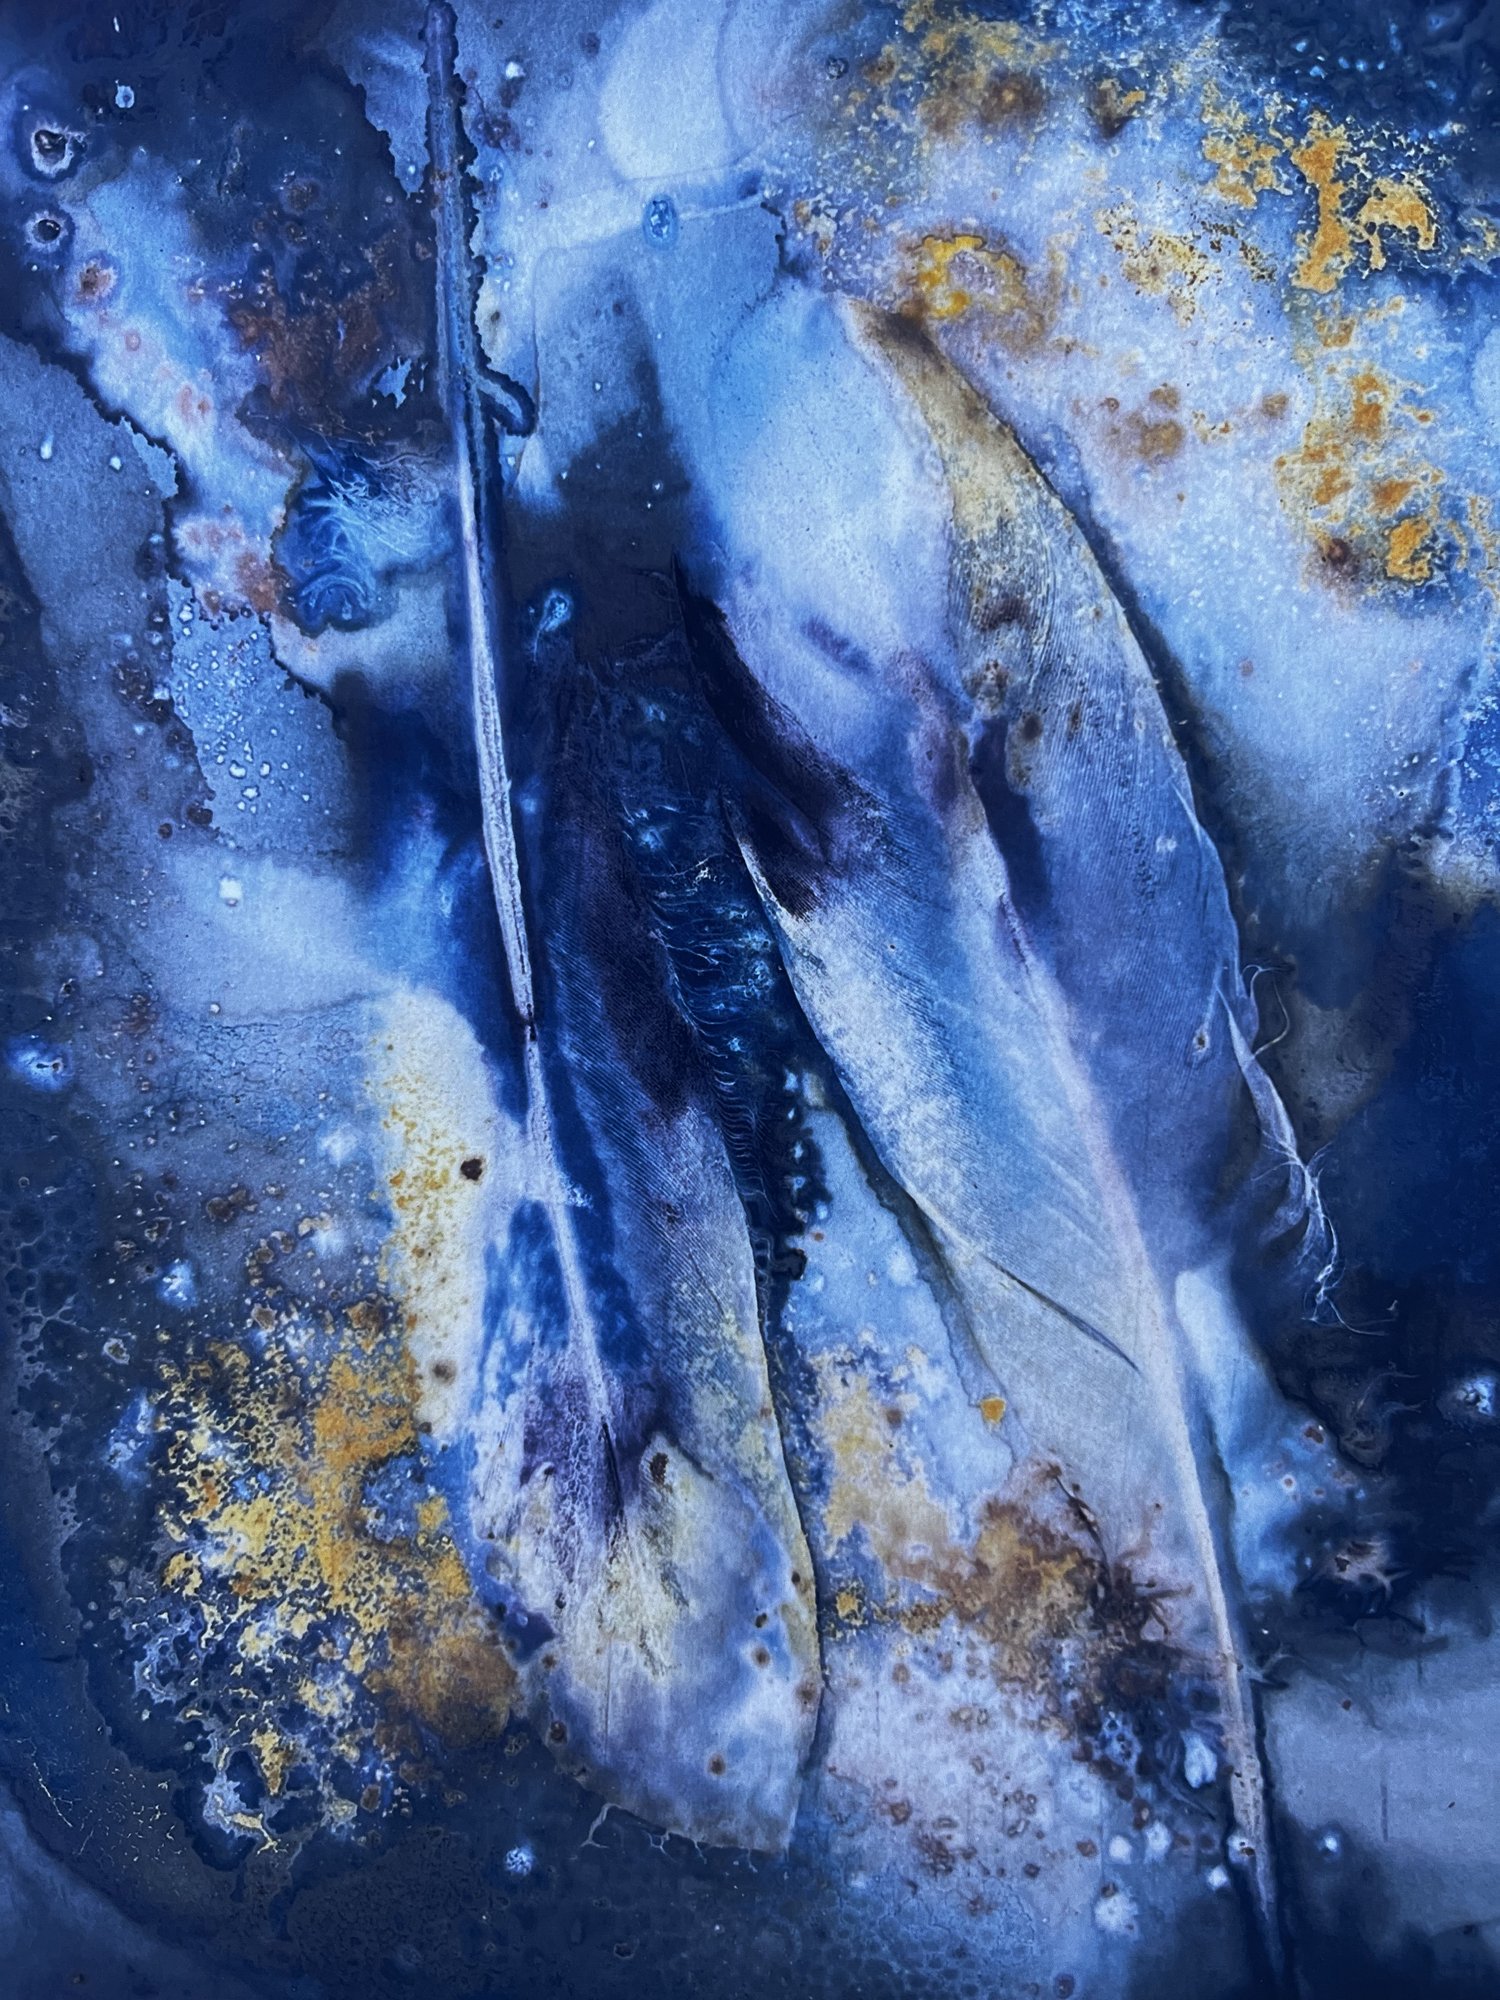
One of the experimental assignments was Cyanotypes and process. I fell in love. I love the process, the little imperfections, and of course because they are CYAN BLUE. Written antique postcards that I have collected over the years have been the perfect surface to experiment with dried flowers and the Cyanotype chemicals. A small UV light makes it easier to control the light source in the winter.
This Winter I hope to reach 100 so I can compare the patterns and textures. Today I completed 49, almost there!
I will quickly go through the process.
I use Photographers' Formulary, Inc Liquid Cyanotype Kit Solution A&B.
I mix small batches and keep the same plastic spoon and plastic cup I clean and use each time. This way I can add 1 spoonful of formula A and B to the cup and it covers about 8-10 postcard size sheets easy. Then I let the paper dry in a dark room for 30-45 minutes.
Set the paper and flowers in the sun until the paper darkens, or you can cheat and use a UV light source for a more consistent light source. Paper will go from yellow to yellow-grey like below when it is ready.
Then gently rinse in cool water for a couple minutes. Removing any yellow formula. Print will be a light cool blue but slowly turn to that darker cyan we all love.


